Glamping sounds like the best of both worlds: sleeping under canvas without giving up a real bed. But if you have browsed listings, you have probably wondered whether a cheap option means a sagging mattress, a musty tent and a surprise fee at checkout. Those worries are fair, because a budget glamping site can vary a lot from one listing to the next.
This guide sets honest expectations before you pay a deposit. It walks through what a budget site actually includes, how much you should pay and when prices drop, the best time to book, how to pick the right setting, what to pack, and the red flags that should make you hesitate before hitting confirm. No marketing fluff, just the practical details first-timers need to know so there are no unpleasant surprises when you unzip the tent for the first time.
What a Budget Glamping Site Actually Includes
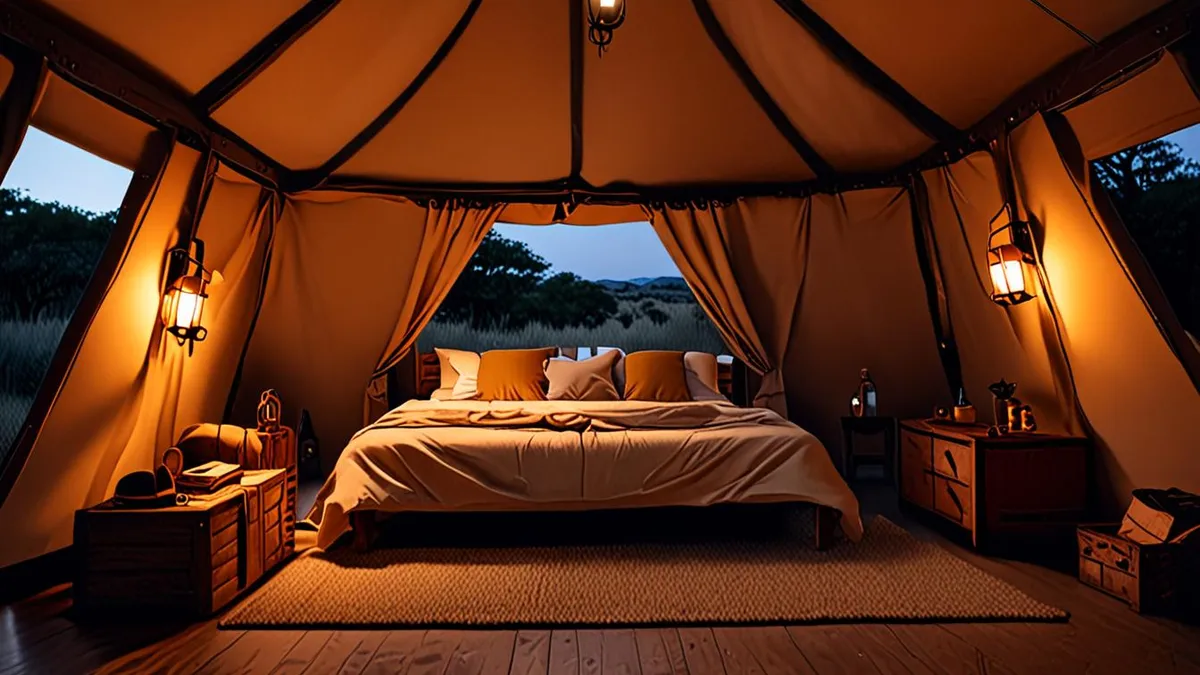
At the budget end, glamping still means a real bed with bedding provided, working lighting inside the tent, and a weatherproof shelter that keeps rain and wind out. What you are paying less for is the extras. Do not expect a private hot tub, daily housekeeping, a wood-fired sauna or a welcome basket of local treats. Those belong to luxury resorts charging several times more.
Most standard glamping tents offer between 15 and 25 square meters of floor space and sleep between 2 and 4 people. Before booking, check the exact bed configuration carefully. Some listings advertise sleeping for four but do it with two single beds plus a fold-out or bunk arrangement, which works very differently for a family with young kids than for two couples.
Bathrooms: the biggest difference at the budget end
Sites under $100 per night commonly use shared bathroom blocks instead of private en-suite facilities. That usually means a short walk from your tent to a central building with toilets and showers, often shared with other campers. It is a fair trade for the price, but it changes how you pack and how you plan your mornings, so go in knowing it rather than discovering it on arrival.
How Much Budget Glamping Costs and When Prices Drop
Budget glamping typically runs $60-$150 per night, a wide range that reflects location, season and tent style. For comparison, luxury glamping resorts commonly charge $200-$500 per night for en-suite bathrooms, chef-cooked meals and private decks. The gap is where your savings live, and timing plays a big role in it.
Peak season, which in the Northern Hemisphere runs from June through August, typically costs 30-50% more than shoulder season in spring and fall. Shifting a trip by a few weeks can cut a noticeable chunk off the total, especially for longer stays.
Then there are the add-ons. Many budget sites charge separately for things a luxury resort would bundle in, and these extras can quietly add $10-$40 to a stay. Common ones include:
- Firewood bundles: often sold per crate or per bundle, so a weekend of evening campfires adds up faster than you might expect.
- Kayak or paddleboard rentals: usually charged per hour or per day, which matters at lakeside sites where you will actually want to use them.
- Pet fees: charged per animal, sometimes per night, so traveling with a dog can double the cost of an add-on line item.
Before you pay, scan the listing for a fee section or ask the host directly what is included. A rate that looks like a bargain can look less impressive once firewood, activities and pets are added on.
When and How to Book a Budget Glamping Site
Glamping books differently from hotels: the cheapest tents at a popular site are limited in number, and they go first. Unlike a hotel with dozens of identical rooms, a small glamping site might only have a handful of budget pitches, so the lowest rate disappears long before the premium waterfront or hilltop options do. A little planning ahead of time makes the difference between landing the bargain pitch and settling for whatever is left, or missing out entirely.
- Reserve 2-3 months ahead for summer weekends. June through August is peak season, and the lowest-priced tents at a site often sell out well before the premium ones do. Booking early is how you actually get the cheap option instead of settling for a leftover one at a higher rate.
- In shoulder season, booking 2-4 weeks ahead is usually enough. Spring and fall trips are more flexible, and late availability often comes with lower rates, so you can sometimes wait for a good weather forecast before committing.
- Read the cancellation terms before paying. Some sites offer flexible cancellation, others keep a deposit no matter what. Know which one you are signing up for, especially if your dates depend on weather or time off work. A screenshot of the policy at booking time saves arguments later.
- Check weekend minimum-stay rules. Many budget sites require a 2-night minimum stay on weekends, which affects whether a quick overnight trip is even possible at that site. If you can travel midweek, minimums often disappear and availability improves.
If your dates are fixed and fall in summer, treat booking as a priority rather than an afterthought, and set a reminder for the moment that 2-3 month window opens. If you have flexibility, use it: shoulder-season dates reward a lighter planning approach with lower prices, quieter sites and easier last-minute decisions. Either way, a short checklist of dates, cancellation terms and minimum-stay rules keeps the process simple and gets you the tent you actually wanted.
Choosing the Right Location and Setting
One of the biggest surprises for first-time glampers is how remote many budget sites are. Most sit 20-60 minutes’ drive from the nearest town or trailhead, which means you can’t just pop out for a forgotten loaf of bread. Before you book, check the distance to the closest supermarket and gas station, and plan your grocery run for the drive in. A full tank and a well-stocked cooler will save you a long, annoying trip back down the road mid-stay.
Lakeside, forest or hilltop?
Each setting offers a different experience. Lakeside pitches give you water views and easy access to swimming or paddling, but waterfront spots usually carry a price premium, so expect to pay more for the best-positioned tents. Forest settings offer shade, privacy and a natural sound barrier between you and neighboring tents, which matters at budget sites where tents are often closer together. Hilltop locations tend to have the best views and breezes, though exposed sites can feel windy and cool in the evenings.
Think about what you actually want from the trip. If your days will be spent hiking, a forest setting near trails may beat paying extra for a lake view you’ll only see at breakfast. If swimming and sunsets are the point, the premium for waterfront can be worth it.
Check the road access
This is the detail most first-timers skip, and it can cause real problems. Some budget sites sit down long unpaved tracks that are unsuitable for low-clearance cars, especially after rain. Read the listing carefully and look for mentions of gravel roads, fords or steep sections. If you drive a small sedan and the site warns about a rough track, message the host before booking and ask whether the road is manageable in dry conditions. Arriving at dusk to discover you can’t reach your tent is nobody’s idea of a relaxing start.
What to Pack for a Budget Glamping Trip
Even in summer, nights in a canvas tent feel very different from a hotel room. Canvas can drop several degrees below daytime temperatures after dark, so pack layers you can add and remove easily, plus a warm sleeping option such as a fleece blanket or thermal base layer, even if bedding is provided. A pair of warm socks for cold mornings around the tent is a small thing you’ll be glad you brought.
Shared bathroom blocks are the norm at budget sites, and a little preparation makes them far more comfortable. Walk from your tent to the facilities with everything you need in one go, rather than making soggy trips back and forth.
- Headlamp or small lantern: Many budget sites use dim path lighting or none at all, so a hands-free light makes late-night bathroom trips and reading in tent safe and easy.
- Quick-dry towel: Standard bath towels stay damp for hours in humid tent air; a quick-dry version packs small and is usable again the next morning.
- Flip-flops or slide sandals: Shared shower floors are exactly what they sound like, and flip-flops also double as easy footwear for stepping in and out of the tent.
- Toiletry bag that hangs: Shared bathroom blocks often have limited counter space, so a hanging bag keeps your soap and toothbrush off wet surfaces.
Food deserves real thought too. If the site has no communal kitchen, or the nearest store is a long drive away, bring basic supplies and a cooler. Plan simple meals that need minimal equipment, and check with the host whether your tent has a camp stove, fire pit or grill you can cook on. Bringing your own coffee and a thermos is another small upgrade that costs almost nothing.
Red Flags to Spot Before You Pay
At the budget end of glamping, listings can look far better online than they are in person. The good news is that the warning signs are usually visible before you pay, if you know what to look for.
Reviews tell you more than photos
A listing with few or no recent reviews, especially reviews that include photos from actual guests, usually means the photos on the listing don’t match reality. Professional listing photos can make a tired tent look brand new, while guest photos show the tent as it really is after a season of weather and wear. Read the most recent reviews first and look for comments on cleanliness, noise and whether the site matched the description. A handful of honest, detailed reviews from the past few months is worth far more than a perfect rating from years ago.
Vague descriptions and missing details
Pay close attention to how the listing describes the essentials. Vague wording around bedding, heating or bathroom access is a warning sign at the budget end. If the listing never states whether bedding is included, whether the tent has any heating, or whether bathrooms are private or shared, assume the answer is the less comfortable one and ask the host directly before booking. A good host answers these questions quickly and clearly; a host who dodges them is telling you something.
Finally, look at the check-in process. No stated check-in instructions or on-site contact suggests limited staff support, which matters if you arrive to find a broken zipper, a leaking tent or a locked bathroom block. Listings that explain exactly how you’ll get keys or codes, and who to call if something goes wrong, are usually run by people who take the operation seriously. If none of that information appears anywhere, message the host and ask before you commit. Silence on the basics is often the clearest red flag of all.
Wrapping Up Your First Budget Glamping Stay
If your worry was that cheap glamping means dirty tents, thin mattresses and surprise charges, the honest answer is simpler than that. A budget glamping site gives you a real bed and weatherproof shelter for $60-$150 a night, with simpler facilities than luxury resorts. You trade hot tubs and daily housekeeping for a lower price, not for dirt or broken equipment.
The rest comes down to planning. Securing your tent early for the busiest summer dates and choosing shoulder-season trips keeps costs down. Checking recent reviews with photos, confirming the location and road access, and packing basics like layers and a headlamp turns a first glamping trip into a low-stress experience. If you have stayed at a budget glamping site, share your experience in the comments or pass this guide along to a friend planning their first trip.